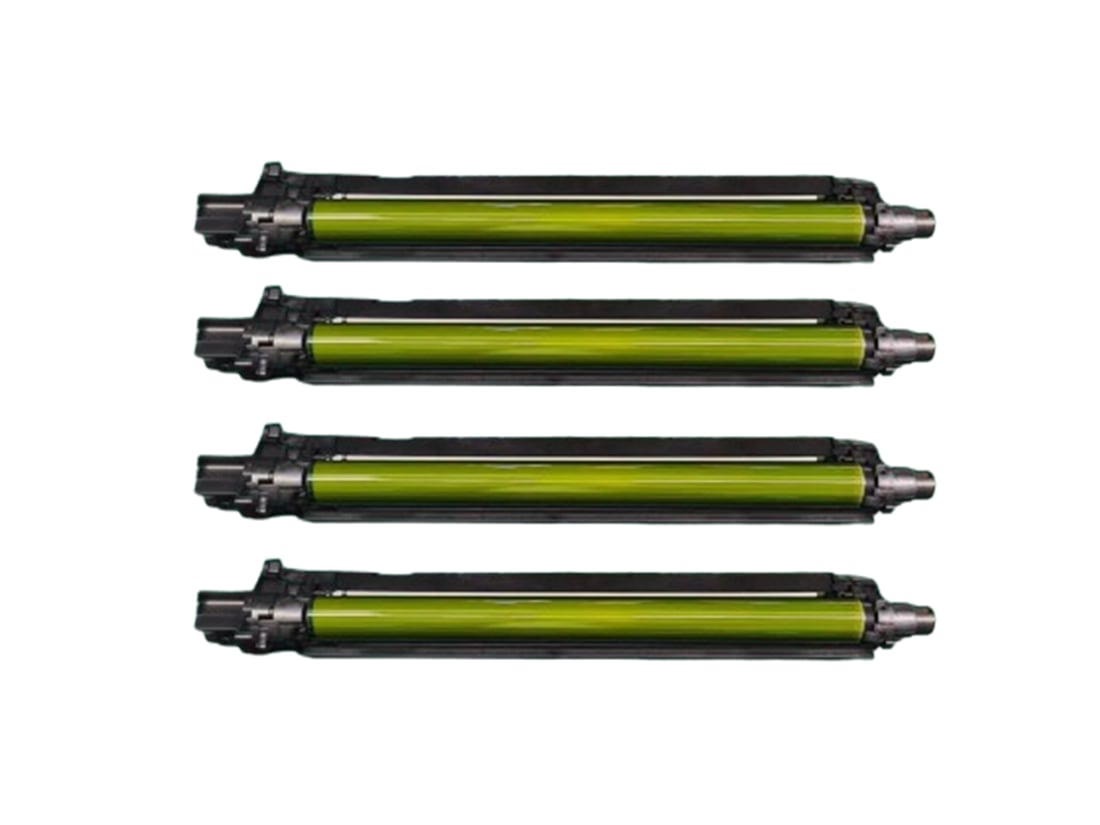
Introduction:
Brother laser printers have gained immense popularity due to their high-quality prints and reliable performance. One crucial component that ensures the printer's longevity and print quality is the drum unit. In this article, we will explore everything you need to know about the Brother laser printer drum, including its function, maintenance, and troubleshooting tips.
1. What is a Brother Laser Printer Drum?
The Brother laser printer drum is an essential part of the printer's imaging process. It works hand in hand with the toner cartridge to transfer toner onto the paper. The drum unit consists of a photosensitive drum that gets charged with an electrostatic charge, attracting toner particles to form the desired image.
2. How Does the Drum Work?
The drum unit in a Brother laser printer goes through a series of steps to create a print. First, the drum is negatively charged by a corona wire. Then, a laser beam scans the drum, neutralizing the charge in specific areas to form the image. The toner particles are attracted to the areas with a neutral charge, adhering to the drum. Finally, the drum transfers the toner onto the paper using heat and pressure.
3. Importance of a Well-Maintained Drum
A well-maintained drum is crucial for obtaining high-quality prints consistently. A worn-out or damaged drum can result in faded prints, streaks, or smudges. Regular cleaning and maintenance help prolong the drum's lifespan, ensuring optimal print performance.
4. Signs of a Worn-Out Drum
It's important to recognize the signs of a worn-out drum to avoid compromising print quality. Some common indicators include light or faded prints, streaks, smudges, or recurring toner issues. If you notice any of these signs, it's time to replace the drum unit.
5. Replacing the Drum Unit
Replacing the drum unit in a Brother laser printer is a relatively simple process. Start by opening the printer's front cover and pulling out the toner cartridge. Next, locate the drum unit and gently remove it from the printer. Insert the new drum unit and reinsert the toner cartridge. Finally, close the printer's front cover, and you're ready to print with a fresh drum unit.
6. Proper Drum Cleaning Techniques
Regular drum cleaning helps maintain print quality and extends the drum's lifespan. To clean the drum, first, turn off the printer and unplug it. Then, remove the toner cartridge and drum unit. Use a soft, lint-free cloth to gently wipe the drum's surface. Avoid touching the drum with bare hands to prevent damage. Once clean, reassemble the drum unit and toner cartridge, and you're good to go.
7. Troubleshooting Drum-Related Issues
Occasionally, you may encounter drum-related issues with your Brother laser printer. One common problem is toner buildup on the drum's surface, leading to print defects. To resolve this, you can perform a drum cleaning as mentioned earlier. If the problem persists, consider replacing the drum unit with a new one.
8. Extending Drum Life
There are a few simple measures you can take to extend the life of your Brother laser printer drum. Avoid exposing the drum unit to direct sunlight or extreme temperatures. Additionally, store the drum unit in a cool, dry place when not in use. Regularly clean the printer's interior to prevent dust or debris from accumulating on the drum's surface.
9. Genuine vs. Compatible Drum Units
When it's time to replace the drum unit, you may come across both genuine Brother drum units and compatible alternatives. While compatible drum units may be more affordable, it's recommended to opt for genuine Brother drum units. Genuine units are designed specifically for your printer model, ensuring optimal performance and print quality.
10. Conclusion
The Brother laser printer drum plays a vital role in delivering high-quality prints. Regular maintenance, proper cleaning, and timely replacement are key to keeping your printer's drum unit in optimal condition. By following these guidelines, you can enjoy crisp and professional prints for an extended period.

