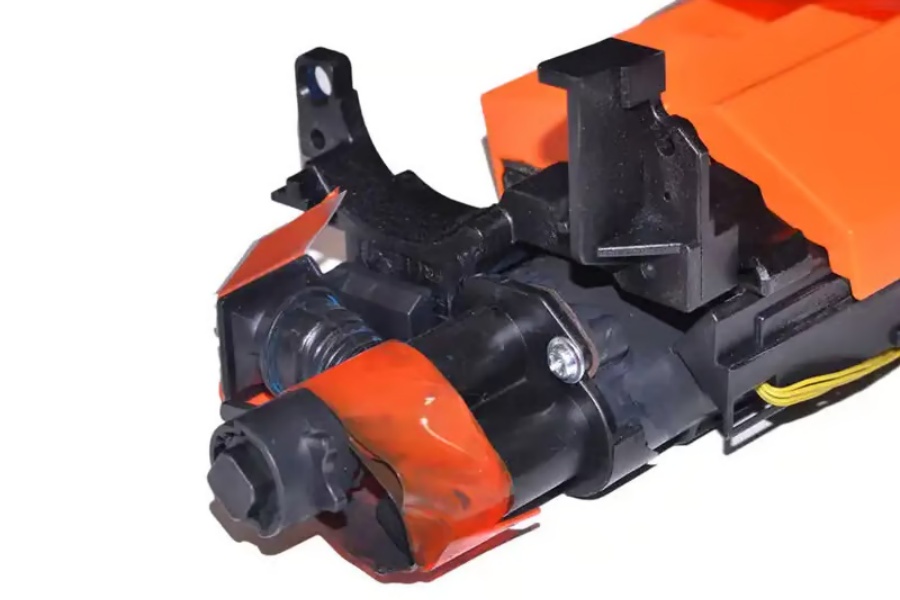
If you own a laser printer, you might know that replacing the developer unit is a common maintenance task. However, if you're new to this process, it may seem intimidating. Fortunately, replacing a developer unit is a simple and straightforward process. In this article, we'll take a look at how to replace a developer unit step-by-step.
What is a Developer Unit?
The developer unit is a component in a laser printer that plays a critical role in the printing process. Its primary function is to transfer toner from the toner cartridge onto the paper. The developer unit contains toner powder and a rotating drum coated in tiny magnetic particles. When the toner is transferred from the cartridge, the magnetic particles in the drum attract the toner and transfer it onto the paper.
When to Replace the Developer Unit?
Over time, the magnetic particles on the drum can wear out, causing the print quality to deteriorate. When you start seeing smudges, streaks, or fading in your printed documents, it's a sign that the developer unit needs to be replaced. Developer units typically last between 20,000 to 60,000 pages, depending on the printer model and usage.
Step-by-Step Guide: How to Replace a Developer Unit
Before you start the process, make sure you have a new developer unit that's compatible with your printer model. Follow these simple steps to replace the developer unit:
Step 1: Turn off the printer
For safety reasons, turn off the printer and unplug it from the wall socket. Let the printer cool down for 15 minutes before starting the process.
Step 2: Open the printer cover
Locate the printer's cover and lift it up to reveal the inner components. You may need to consult your printer's manual to find the exact location of the developer unit.
Step 3: Remove the old developer unit
Gently pull out the old developer unit from the printer. Be careful not to touch the drum, as it's sensitive to light and can be damaged if exposed to it. Place the old developer unit aside.
Step 4: Remove the packaging from the new developer unit
Remove the new developer unit from its packaging. Be careful not to touch the drum or expose it to light. Remove any protective covering on the new developer unit.
Step 5: Insert the new developer unit
Carefully insert the new developer unit into the printer. Make sure it's securely in place and that all connections are aligned. Gently push it in until it clicks into place.
Step 6: Close the printer cover
Lower the printer cover and make sure it's securely closed.
Step 7: Turn on the printer
Plug in the printer and turn it on. Wait for the printer to initialize and check for any error messages that might appear on the display.
Step 8: Test print
Print a test page to ensure that the new developer unit is properly installed and that the print quality is good. If the print quality is still poor, you may need to clean the drum or replace the toner cartridge.
Conclusion
Replacing a developer unit is a simple process that can help improve the print quality and extend the life of your laser printer. Follow the steps above to replace the developer unit in your printer and keep enjoying high-quality prints.

