1. Understanding the Importance of the Developer Unit
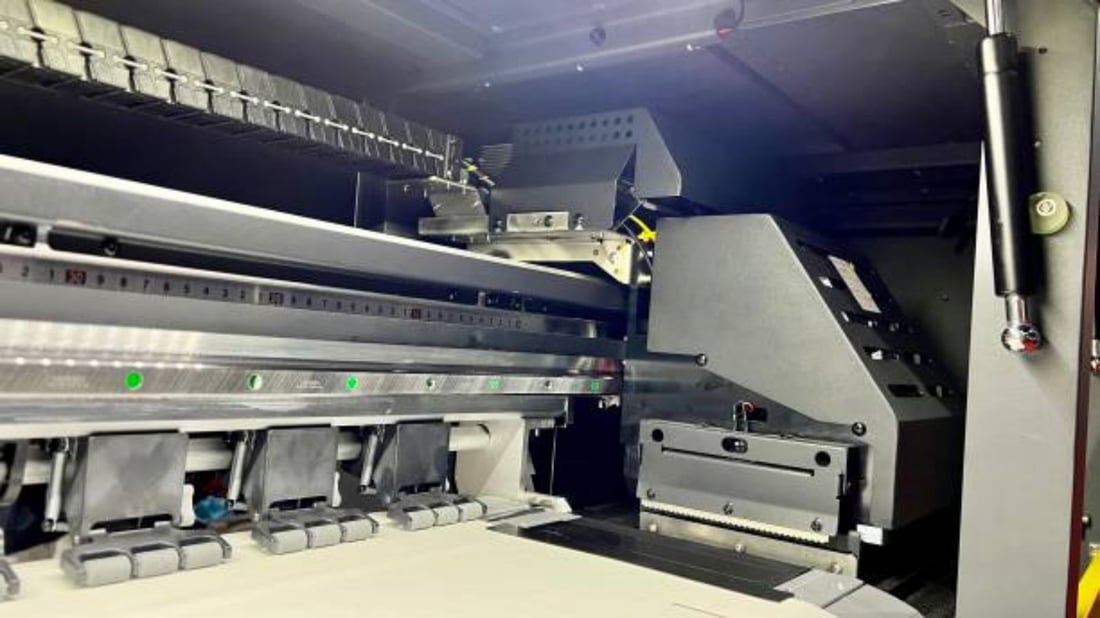
The developer unit is a crucial component in the Fuji Xerox SC2020 printer. It plays a key role in transferring toner to the imaging drum, which then transfers the toner particles onto the paper, creating high-quality prints. Over time, the developer unit can wear out and require replacement to maintain optimal print quality.
2. Signs that the Developer Unit Needs Replacement
There are several indicators that suggest it's time to replace the developer unit in your Fuji Xerox SC2020 printer. These signs include faded or blurry prints, streaks or lines on the printed pages, or error messages related to the developer unit. If you notice any of these issues, it's likely time to replace the developer unit.
3. Gathering the Necessary Tools and Supplies
Before proceeding with the replacement process, gather the required tools and supplies. You will need a new developer unit specific to the Fuji Xerox SC2020 model, gloves to protect your hands, and a clean, lint-free cloth to wipe away any toner residue.
4. Safely Powering Off the Printer
Ensure that the printer is powered off properly before attempting to replace the developer unit. This can be done by pressing the power button and following the on-screen prompts. Wait for the printer to completely shut down before proceeding.
5. Locating and Accessing the Developer Unit
The developer unit is typically located inside the printer, behind a front panel or cover. Refer to the printer's user manual for specific instructions on accessing the developer unit. Once you have located it, carefully remove the front panel or cover to gain access.
6. Removing the Old Developer Unit
With the developer unit exposed, carefully disconnect any cables or connectors attached to it. Take note of their positions to ensure proper reinstallation later. Next, release any latches or clips holding the developer unit in place and gently slide it out of its slot. Place the old developer unit aside for proper disposal.
7. Installing the New Developer Unit
Unpack the new developer unit from its packaging, being cautious not to touch the drum surface or expose it to direct light. Align the new unit with the slot where the old unit was removed and slide it in until it clicks into place. Ensure that it is securely seated before proceeding.
8. Reconnecting Cables and Closures
Carefully reattach any cables or connectors that were disconnected earlier, ensuring they are properly aligned and firmly connected. Double-check all latches or clips to ensure they are secure. Close the front panel or cover, making sure it is properly aligned before gently pressing it shut.
9. Powering On and Testing the Printer
Once the developer unit is replaced and all connections are secure, power on the printer. Allow it to go through its startup process, and then print a test page to ensure the new developer unit is functioning correctly. If the test page looks clean and clear, you have successfully replaced the developer unit.
10. Maintaining the Developer Unit
To prolong the lifespan of the new developer unit, it is important to perform regular maintenance. This includes cleaning the unit and removing any toner residue using a clean, lint-free cloth. Additionally, follow the printer's recommended maintenance schedule and replace the developer unit as needed to ensure optimal print quality.

